Image Watermark Guide — Protect Your Photos with Text or Logo Watermarks
A complete walkthrough for using the Image Watermarker tool on THRJ. This guide explains the UI, key controls, and step-by-step instructions with screenshots — from choosing a watermark type to downloading the finished result. All processing happens locally in your browser with no uploads required. Open the Image Watermarker
What Is a Watermark and Why Use One?
A watermark is a visible or semi-transparent overlay — typically text or a logo — placed on top of an image to identify its source or deter unauthorized use. Watermarks are used by photographers, illustrators, and brands to protect creative work shared online.
Quick Steps
- Open the Image Watermarker from the main menu (Tools → Image Watermarker) or visit
/image-watermarker. - Drag & drop an image onto the drop zone or click to browse and select a file.
- Choose Text Watermark or Logo Watermark using the radio buttons.
- Enter your watermark text or upload a PNG/SVG logo file.
- Adjust position, size, and opacity to place the watermark where you want it.
- Click Apply Watermark to preview the result, then Download to save the watermarked image.
Step-by-step with screenshots
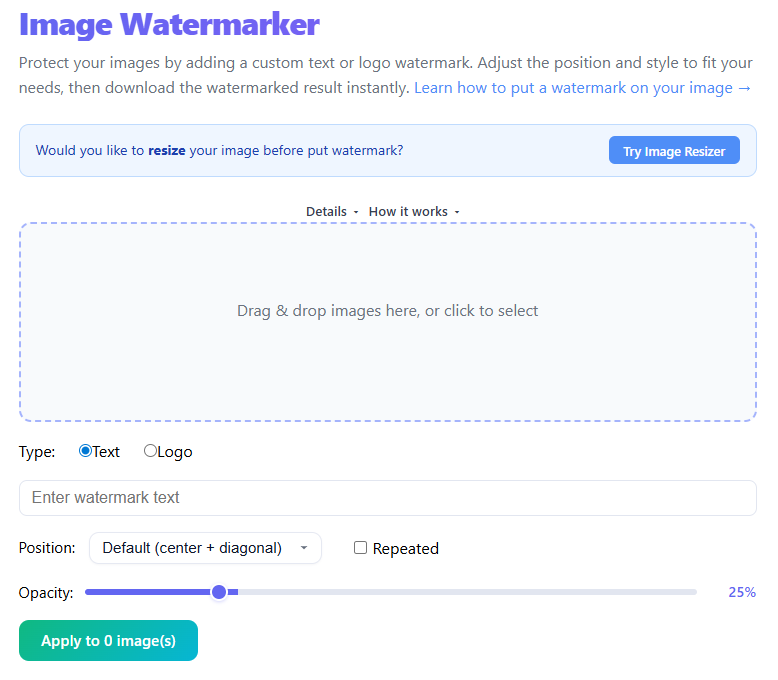
1. Load an image
Drag & drop or click the drop zone to select an image from your device. Common web formats are supported: JPEG, PNG, WebP, and more.
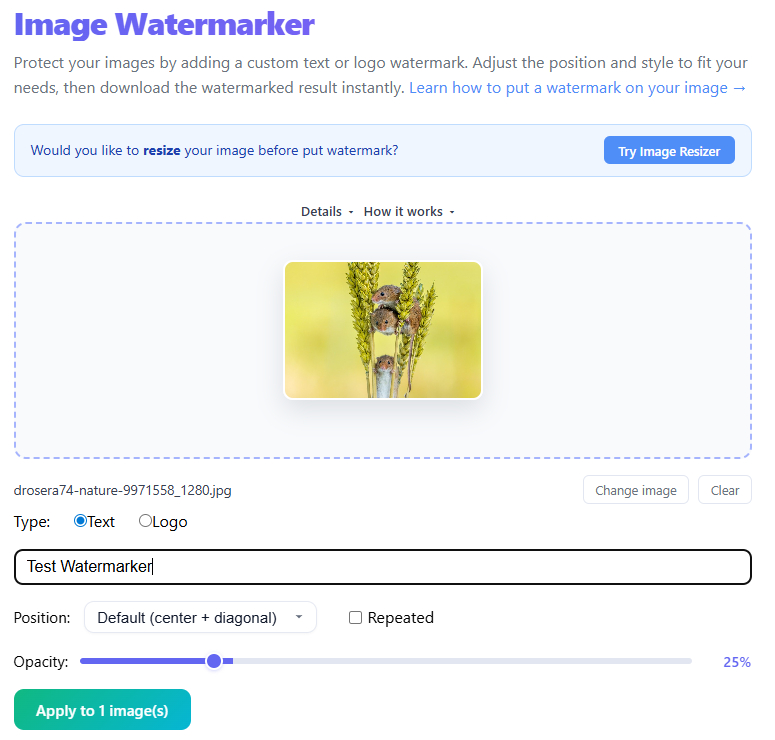
2. Choose text or logo and configure
Select Text Watermark and type your text (e.g. your name, website, or copyright notice), or select Logo Watermark and upload a PNG/SVG graphic. Use transparent-background PNG or SVG logos for the cleanest result.
3. Adjust position, size, and opacity
Use the position, scale, and opacity controls to fine-tune where and how strongly the watermark appears. Corner placement is unobtrusive; center placement or tiling provides stronger protection.

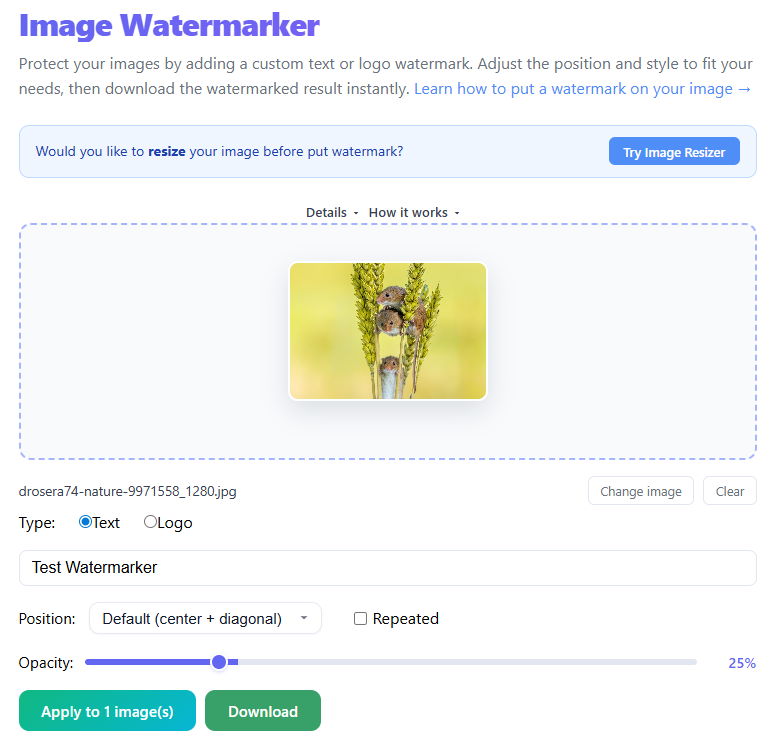
4. Preview and download
Click Apply Watermark to render the composite image and inspect it in the preview. When satisfied, click Download to save the watermarked file.
Tips & FAQs
- All processing runs in your browser — your images are not uploaded to any server.
- Use lower opacity for a subtle brand mark; higher opacity for clearer visible protection.
- Logos with transparent backgrounds (PNG or SVG) produce cleaner results than logos with white backgrounds.
- Animated images (GIF/WebP) are flattened to a single frame on export.
Choosing the Right Watermark Style
Text watermark is quick and flexible; Logo watermark is more professional and brand-consistent. For stronger protection consider center placement or tiling.
Opacity guidelines
| Watermark purpose | Recommended opacity |
|---|---|
| Subtle brand mark (low priority) | 15–25% |
| Standard copyright notice | 30–50% |
| Strong visible deterrent | 60–80% |
| Bold/deliberate branding | 80–100% |
Positioning Strategies
Corner placement is unobtrusive but easier to crop out; center placement is harder to remove; tiling makes removal difficult. Position over a key detail for stronger protection.
Preparing Your Logo for the Best Result
- Use PNG with a transparent background for clean composites.
- Use SVG for scalability to avoid pixelation on large images.
- Aim for logos about 200–400px wide for most photo sizes.
Frequently Asked Questions
Can I watermark multiple images at once? The tool processes one image at a time; it remembers your last settings during the session.
Will the watermark degrade my image quality? No — the watermark is composited and saved as a PNG; the original is not modified.
How do I remove a watermark I mistakenly applied? Reload the original image into the tool and re-run without the watermark.
Is my image uploaded? No. All watermarking happens locally using the browser Canvas API.
Published by THRJ Tech